
That’s a grand total of 8....
8 is enough, at least for me. My place
settings have always accounted for this. No more no less... well maybe
sometimes more but for the most part this is the key # that I stick to.
So here we go - a seating for 8 for
the great outdoors. I searched high & low for a farm / barn wood table
& finally found some that I loved; however I didn't have access to old barn
wood or railroad ties. I had to stick with what I had & what I found. This
table was 2 years in the making& took 1 1/2 days to make. Well Melissa, 2
whole years? That’s crazy! YEP. This used to be the old, ugly, tiled kitchen table.
It always looked sad & discolored & was at piece when I covered it with
pretty linens. When I finally found its replacement I took a hammer to the tile
& kept the surrounding frame & legs. Life happened & I wasn't able
to get to my project so I decided to paint the table the color I wanted with
hopes of it lasting a little longer while it sat outside. It became an eye sore
so the table moved to the side of the house, where it sat in the cold, wet, hot
& dry weather. It managed to survive & I was determined to make
something beautiful. Easter weekend I asked my husband to lay some wood on the
frame so we can utilize it. GASP - horrible, tacky idea. We ended up using it
as a work table. Finally this past week, it was time. I had old cedar wood that
I salvaged from a curb, I purchased some new items to finish the project &
I managed to realize that the frame was not going to work for my project &
I had to learn to revamp what I had & make it new, fresh & sturdy.
Things to know: First figure out how
many people you want to seat. Do you have chairs already that you want to
utilize? If so, do you have enough? If you don’t, do you have an idea? Or can
you mix & match? Do you have enough scrap wood for your needs? If not, are
you willing to utilize some new items? Don’t know where to start? To get an
idea, you should research & gather pictures from different tables you like
& combine an idea from each.
Below are some
standard sizes that can give you an idea as to what size of table you may need. Of course there
is nothing Standard about a Upcycle Rectangular table, have fun & make it your own .
- To seat 4 people: 36"W x 48"L
- To seat 4-6 people: 36"W x 60"L
- To seat 6-8 people: 36"W x 78"L
-
The table - See the old wood on top, BLAH! It has a small lip & I really wanted to use this for my new table, but it didn't work. I had to start from scratch.


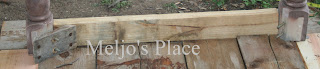
corner taken off & bare leg is left. The bolts are in great condition


the legs, off & sanded


bottom footing needed to even out & chopped off.

lumber all sprawled out, checking to see what I have & how I can manage to utilize the most out the scrap wood.
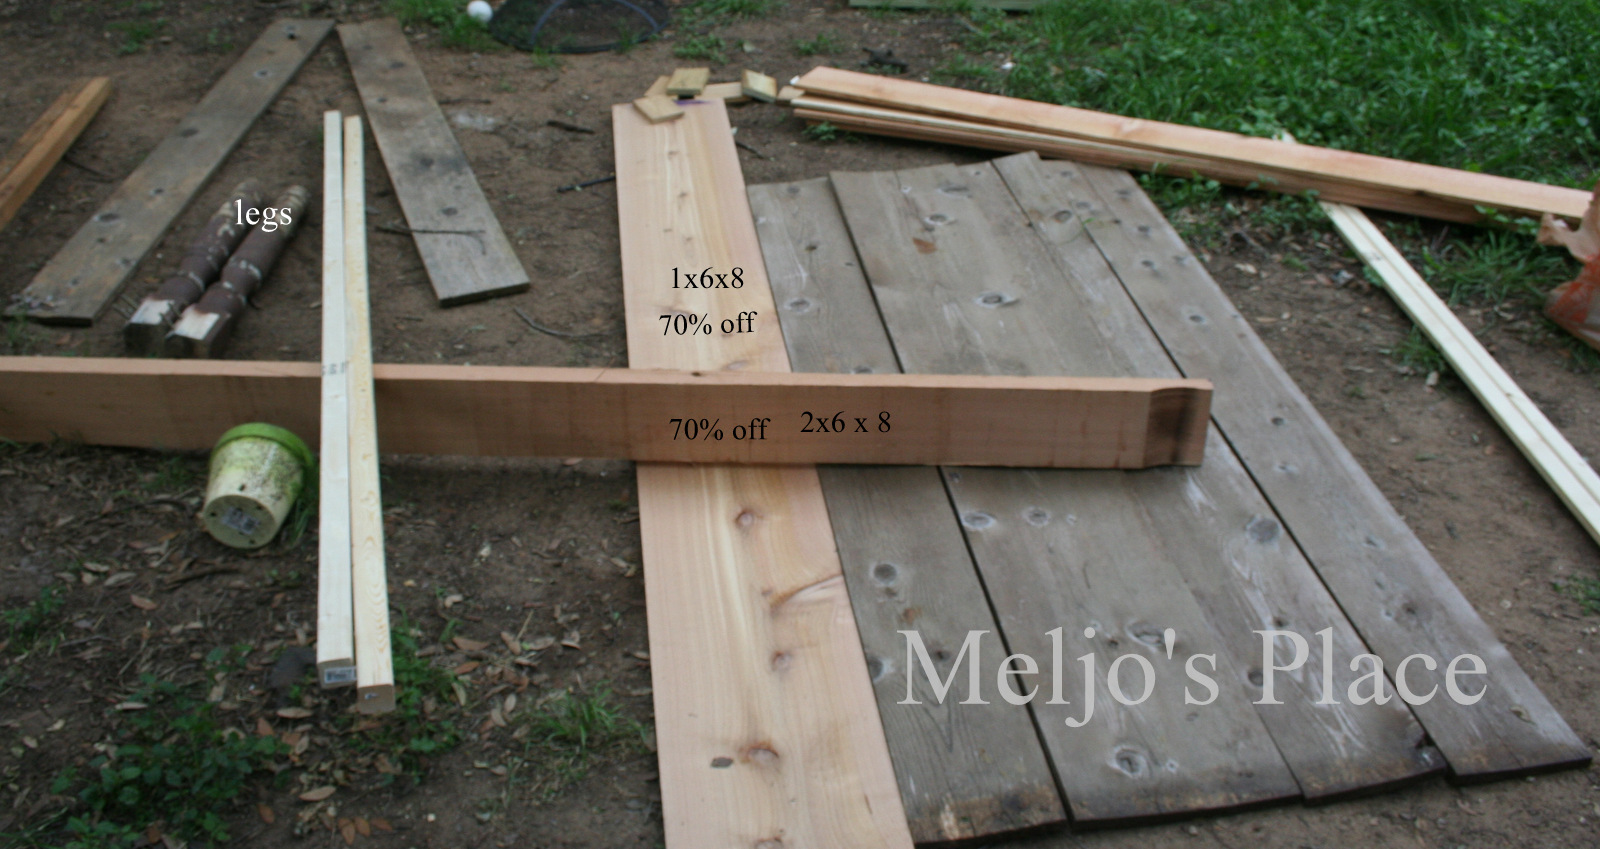
The first dry run.

Everything is cut to size - NOTE: All the wood is flipped upside down, make sure you keep the boards the same way when you flip it over. Because the wood is not all the same & widths can vary due to shrinkage & weather. If you were to change it up, it might not line up the correct way. 

Trying to figure out placement of legs

Measuring the outside perimeter of

out side permiter made & boards placed across for added support & a place to atttach the top boards

L brackets from sampson ties, attached to bottom of legs


2x2 cedar board attached across the legs for added support, balance & looks


Frame completed & boards are carefully placed back on top. I used finish nails. this way you didn't really see the nails.


Boards are attached & here comes the stain. The legs were originally white, I painted the wood the rich espresso & it eventually discolored. Sanding brings out the previous white color & the wood. Sealed properly, the color will last for a long time. A 2x2 cedar is ran across the bottom of the leg brace.
Top of the table, sanded & cleaned

First coat complete


2nd coat applied

And there you go!

I made the table for 8- I had 4 chairs I purchased at Thrift Town a while back for $10 each. I placed one on each end & 2 on one side. I will be building a bench for 4 on the opposite size.
Bench on side coming soon!
COST: $3.60 x 2 cedar pickets
$3.80 x 2 - cedar 2x2
$0.50 x 4 -Brackets
TOTAL
$16.80
this does not include the cost of hardware, stain or tax- A 5gal stain by Behr is $24, 2 coats used only an 1/8 -3/8 of the can. I may add a 3rd just for added protection, until I can get a cover on this.
TIP: The uglier the better. The chairs above had horrible covers, they were sold for cheap due to this. Most of my finds for less are hidden gems. The seller see's ugly, broken, piece. I see lower price & great function. When at a store, (even a thrift store) it never hurts to ask; "Is this the lowest you will take?" Ask for a discount, EVEN WHEN IT ALREADY IS! Now, this being said; if you see something priced right, take it and run... All you have to do is turn your back & someone else will be buying.
~Mel
Though I have some common sense for the above project, a finger might have been harmed during the making of this project. Check your inner DIY'er to make sure you that you know how to use your hammer!
No comments:
Post a Comment